|
I've done quite a bit more in 2005, primarily on the outside of the shed. The shiplap cladding takes a lot of effort to prepare because I wanted to stain it BEFORE adding it to the shed. Two reasons: I didn't want to stain it while it was on the shed because it's been freezing cold and it was much better to be inside the shed than out. Second, I could get a more even finish on the shiplap this way, and could also put one coat on the BACK of each piece, just for extra protection. As it turned out, the decision was the right one, and it's looking great. I've only done the parts of the shed you can see, again because it's so cold, and have now turned my attention to finishing off the front of the shed completely.
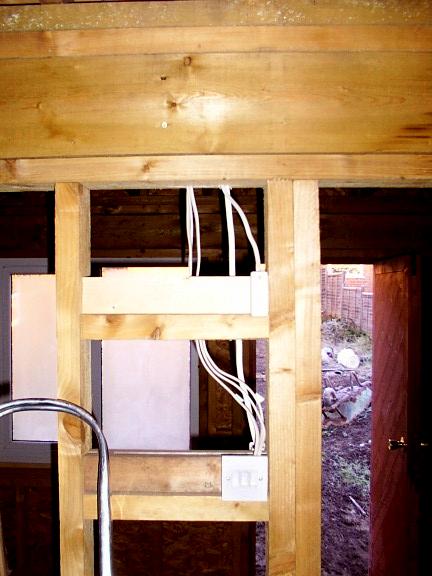
Lots of switches! This is the dividing wall and has most of the switches at this point. The three-gang switch panel controls the three lights in the main section of the shed. Above that is another switch which turns on the lights in the loft. I decided to put it above the other switches because it's logical that way - the switch above controls the lights above. There's something similar in the front section of the shed, with two switches, one over the other, the top one switching on the outside lights. Round the back of what you see here is another switch, which is part of a two-way circuit. This lets you switch the front section light on/off from two places - as you enter the shed and as you go into the back section - in exactly the same way as your stairs lighting is able to be switched in two places.
Let me tell you that I needed a LONG drill bit to get through all that timber at the top of this picture! I had to use a 60cm (2-foot) masonry drill bit. It had to be a masonry bit because there is no real call for such long bits to drill through wood. It worked a treat!
|
|
Back Next
|
|
