|
The last update was all long-range shots for which I apologise - it was only when I'd come in out of the awful heat that I could even think about using the camera. This update is better though - I've tried to show some of the detail in the overhanging gable ends. I had a day of on the 10th (well deserved!) just because I felt like it. You can do too much and even though the weather was cooler I was worn out so needed a breather. Back to work on the 11th, and more work on the overhanging gable ends, this time the one on the left side of the shed. This makes for better photos because you can see the horizontal pieces of timber which support the overhang. On the 12th I added the fascia boards to the left of the shed. It might seem premature to do this, but the diagonal rafters which go from the point where the 2 ridge pieces meet need to end somewhere - the inside of the fascia, just like the ordinary rafters. So the plan was to add the fascia and then the diagonal rafters. But as you'll see from the picture descriptions it wasn't so easy!
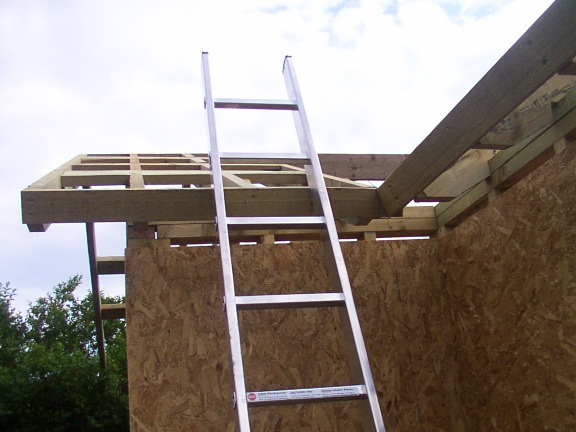
A good view of the fascia boards, showing the weird angle where they meet. Don't forget that both boards slope inwards, so the cutting was... complex to say the least.You can't really see much, but I've stretched a string line from the corner point shown here, up to the ridge of the roof, where the L-shape comes together. This is for a diagonal rafter, to which other rafters (called jack rafters) will be attached. In the roofing book I'm using this looks relatively straightforward, but their fascia is at 90°. As you've seen, mine is angled, and the rafter has to fit into that angle AND has to fit into an angle at the ridge AND has to have a bird's mouth joint where it connects to the shed wall - also at an angle. This has baffled me all afternoon and continues to baffle me as I'm writing! I just can't seem to cut my piece of scrap wood to attach to the fascia AND be set at the correct angle to point towards the ridge of the roof. So I eventually gave up, and tomorrow I have a cunning plan... Clay! All that clay dug up from the foundations will come in useful - I'm going to fill in the gap which will take the rafter's end, and mould the clay so that all I have to do is take it out and (in theory) cut a piece of wood which looks the same. It sounds mad, but it also sounds like it might just work, and although there is some logic to the cutting, the maths or geometry or whatever is eluding me. I'd rather do something I know will work because once I've cut both ends of the wood they HAVE to fit - there's no going back! You can find out how well this works (or doesn't!) in the next update.
|
|
Back
|
|
