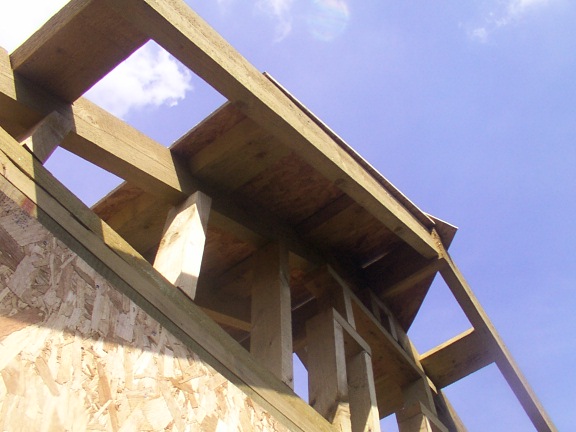
Meanwhile the rains came down! Almost every day it has rained, so no work has been possible. On top of that my car windscreen was cracked, needing a replacement. Then my car failed the MOT on a LOT of things, and the quote is for over 500 quid so that knocked my mood for six. And lastly I was driven further to despair by having no money at all because the people who handle credit card acceptance for me (I run a little karaoke business - www.karaokebuilder.com) saw fit to 'lose' quite a lot of my money for several weeks. However, all these things are sorted now, and the sun finally came out as well, so work begins again!
So, this is where the roof starts to get covered up. One board at a time, steady as she goes, and now the whole thing is starting to feel like a real shed with real rooms. It's amazing what covering the roof does to the atmosphere inside (apart from making it darker of course!). Lifting the 8ftx4ft boards into position and attaching them to a slippery slope was always going to be tricky, but as you'll see the method I eventually used was ingenius (and not mine!). Enjoy this update and look forward to many more... if the weather holds out of course!
|
Back
|