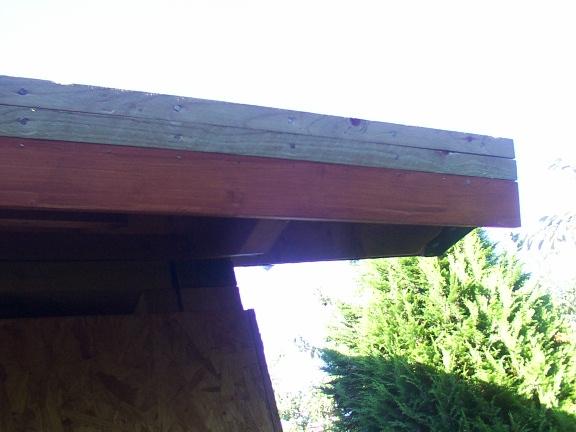
The next problem was getting the backing sheet off. Although I was peeling it off while I unrolled, after 5 or 6 feet it was in danger of blowing back and sticking to the underlay the wrong way round (never to be removed again) so I had to cut sheets of it off as I went. Lastly, the top piece had to overlap onto the front of the shed by about 6 inches, so to get round that I slit the backing sheet before I got up there, so I could peel the bottom half off and stick it to the back roof, then fold it down and peel the top half off and push it over the roof. Unfortunately that didn't go quite to plan when corner where the scaffolding doesn't reach decided to curl round on itself and stick glue-on-glue, so it took brute force to pull it apart.
Finally I got there and the results speak for themselves. Well they have to, cos I forgot to take a picture (the batteries ran out they I got busy) so you'll have to work it out from the photos of the next day!
Today it was time to put some nice trim on the fascia. Step by step details of that are shown in the photos, and there's plenty more of this to do tomorrow. Next it's the gable ends where the trim meets the trim I did today at an angle, so has a longer edge. That's a potential problem, but it's all planned for, so wait and see!
|
Back
|